

Name & Description
The Name & Description accept metric identifier information, which includes defining a name, narrative, categories, and tags.
Name and Description
-
Enter the following information:
-
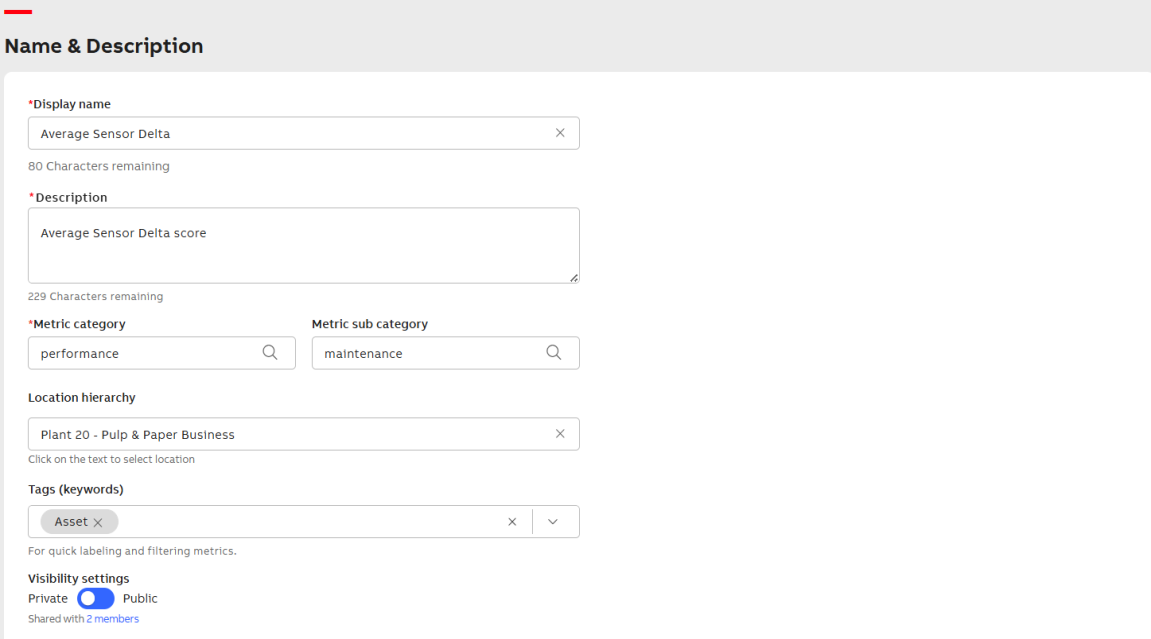
Display name: Enter the display name for the metric.
-
Description: Enter the metric description.
-
Metric category:
Select the Metric category. If the desired category is not available, you are prompted to create a new one.
To create a category, enter the category name in the Metric category field and click + Add <Metric category name>. The category name is then added to the Metric category field.
-
Metric sub category:
Select the Metric sub category. If the desired sub category is not available, you are prompted to create a new one.
To create a sub category, enter the sub category name in the Metric sub category field and click + Add <Metric sub category name>. The sub category name is then added to the Metric sub category field.
You can dynamically create new categories and sub categories during the Name & Description step. Alternatively, you can navigate to the Metric Catalog to create categories and sub categories, see Category Management.
-
Location hierarchy: Go through the hierarchy — Region → Location → Site → Plant — from the dropdown, and select the appropriate location to save the metric.
-
Tags (Keywords): Open the dropdown list and select the checkboxes for the tags relevant to the metric.

Select the tag
If the desired tag is not available, it prompts you to create a new tag.
To create a tag, enter the tag name in the Tags field and click + Add <Tag name>. The tag name is then added to the Tags field.
-
Visibility settings: To grant access to the metric for users or groups.
-
Private: To provide access to specific users.
-
Public: To provide access to all users.
-
Click Shared with <X> members to grant access to the metric for users or groups. For more information, see Share Metric.
-
-
-
Click Save.
-
Click Next.